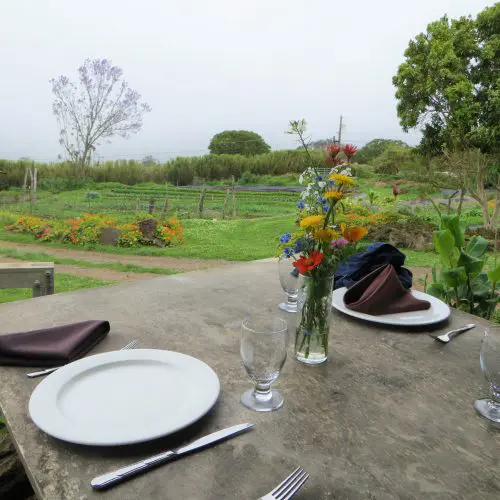
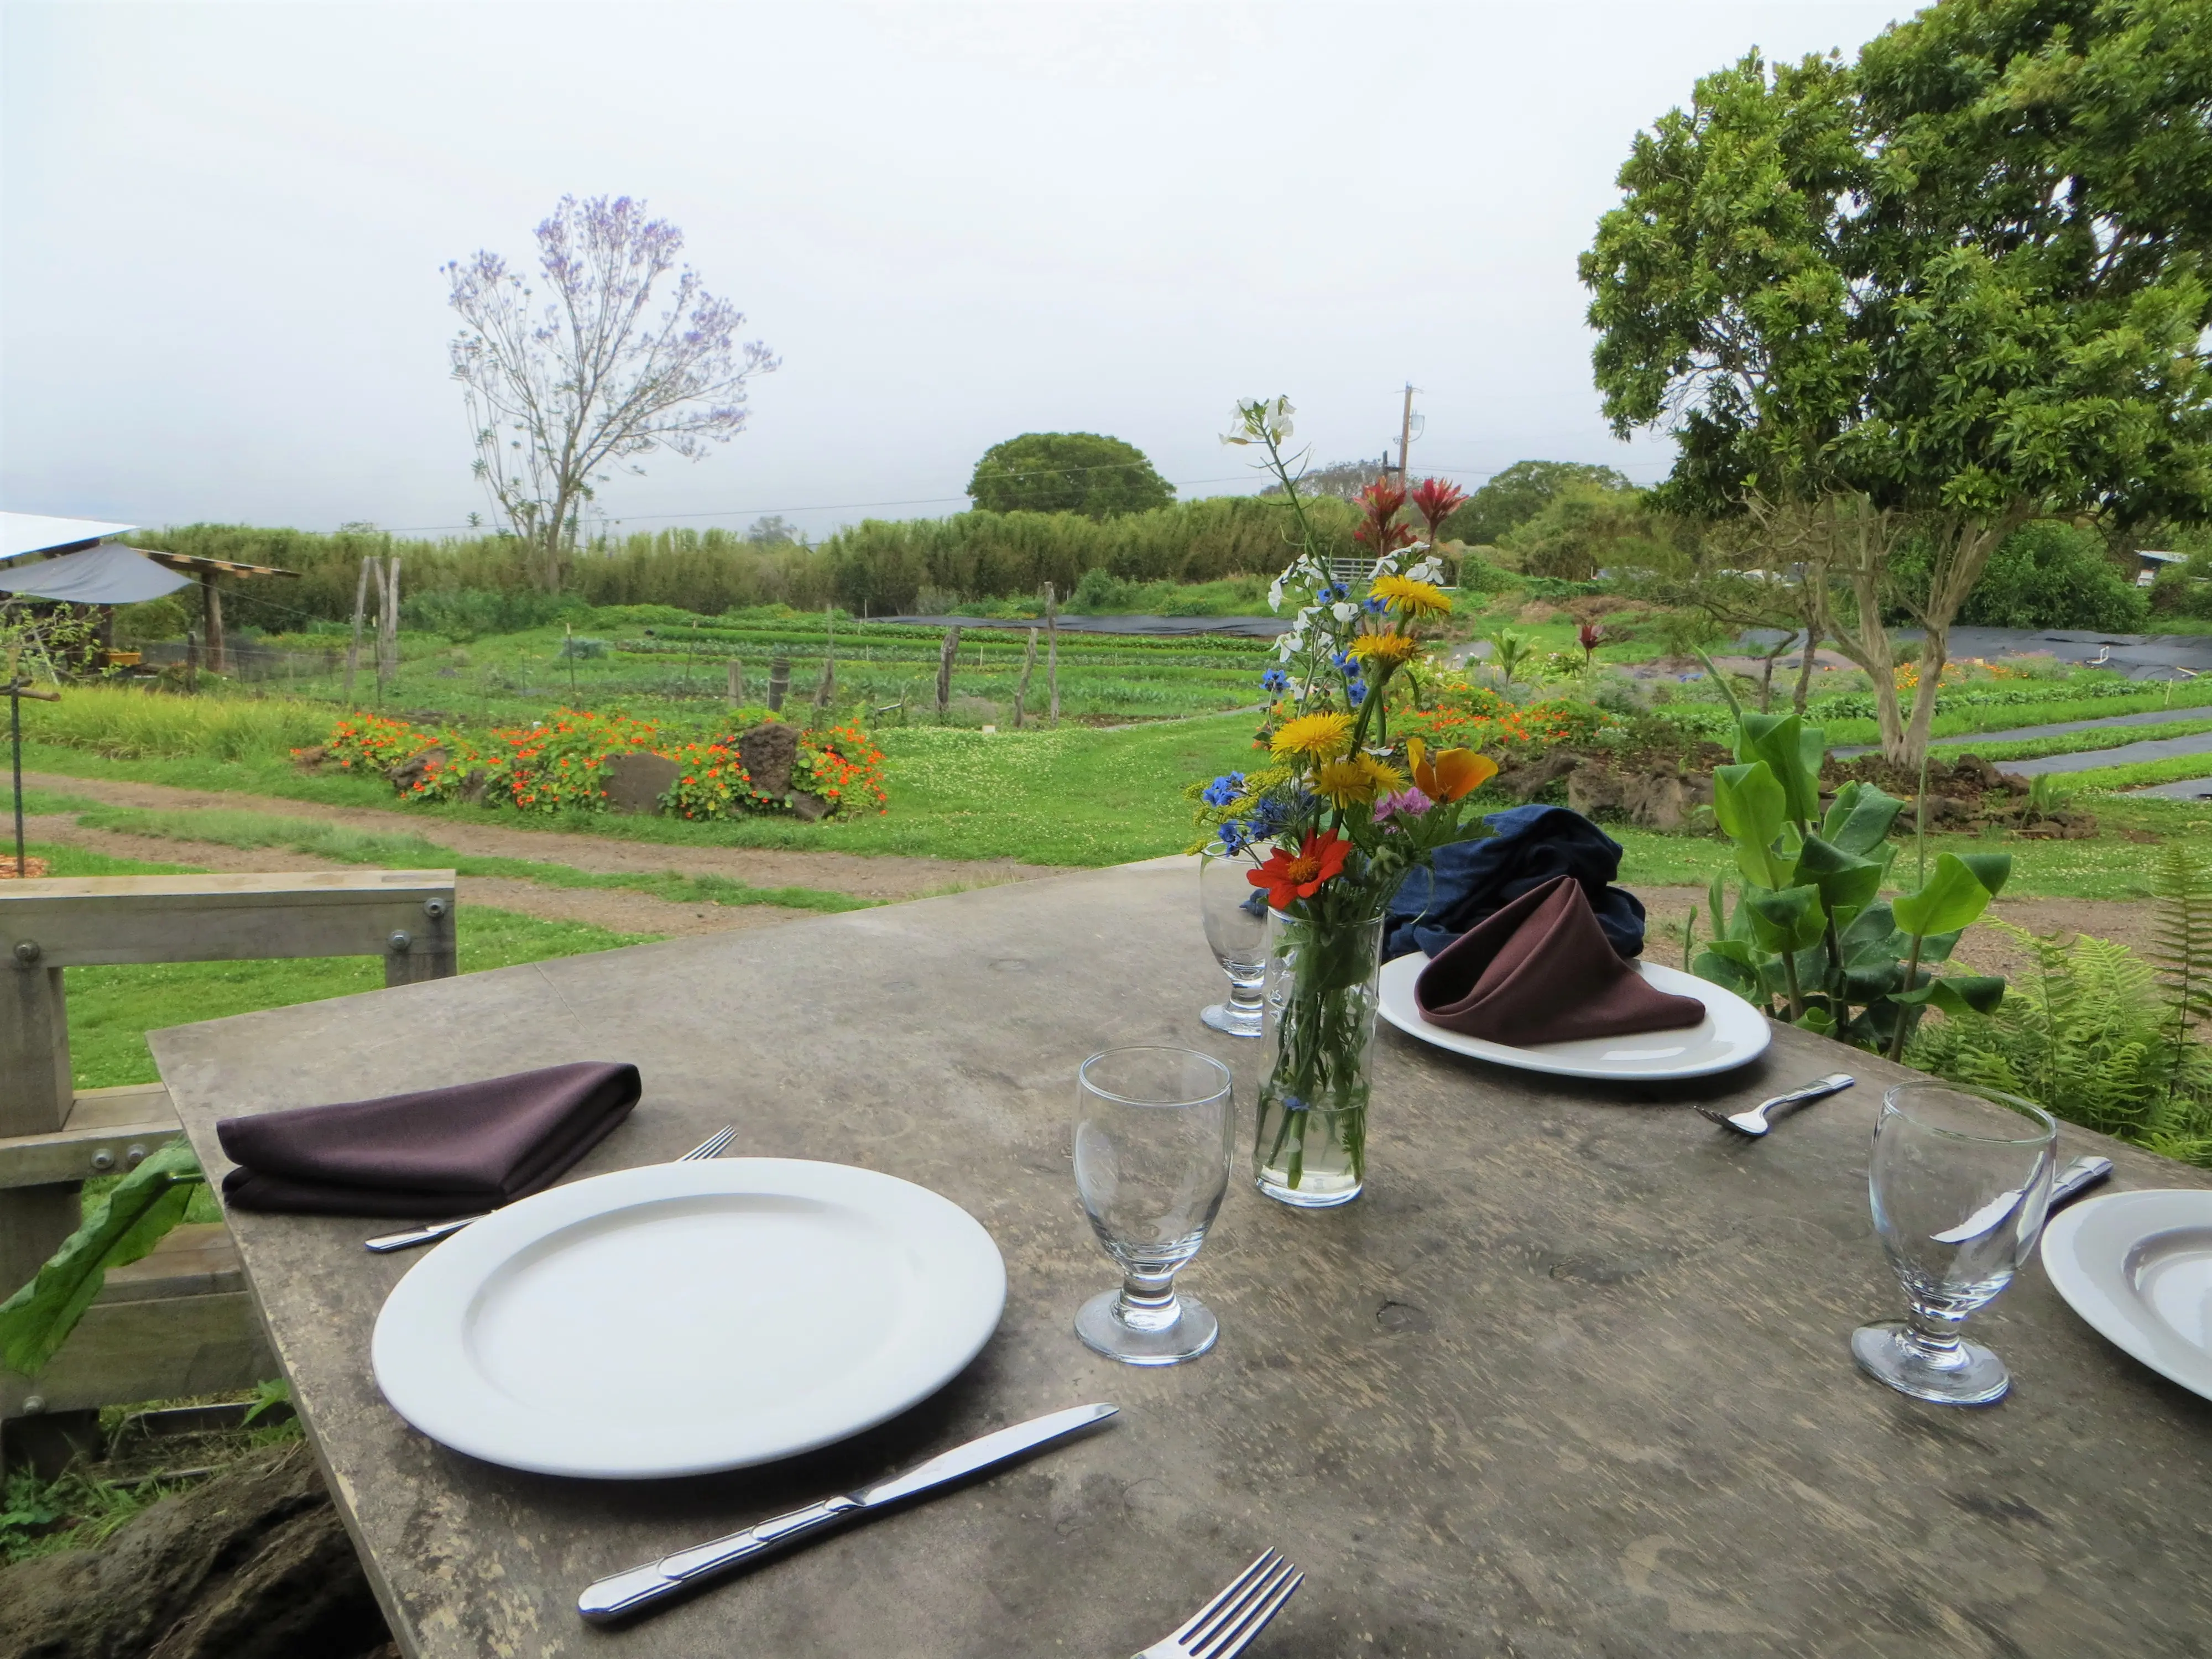
We visited a beautiful lavender farm in Maui called Ali'i Kula and absolutely loved it! The farm grounds are up in the mountains and completely breathtaking. Plus, the variety of lavender and other botanicals makes any plant lover swoon!
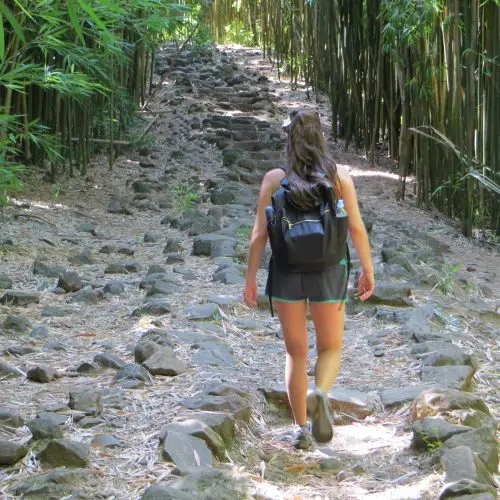
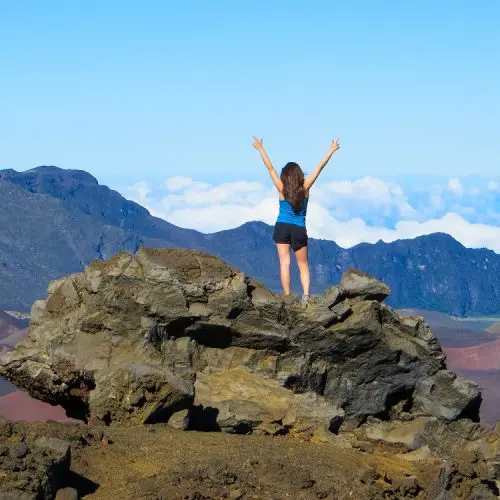
During our time in Maui, Hawaii. We also toured an organic farm, hiked Haleakala, completed the road to Hana and snorkeled.
But this stunning lavender farm took us by surprise! It definitely wasn't the first thing we thought to do when we arrived in Maui, but we're glad we stumbled across it.
The Lavender Farm Tour
When I learned a lavender farm was close to where we were doing a different tour I knew we had to go! An item still on my bucket list is visiting the lavender fields in Provence, France.....ahh one day! Have you ever been? I envision myself running through the fields of lavender and taking in all the lovely scents....sounds like a dream right!
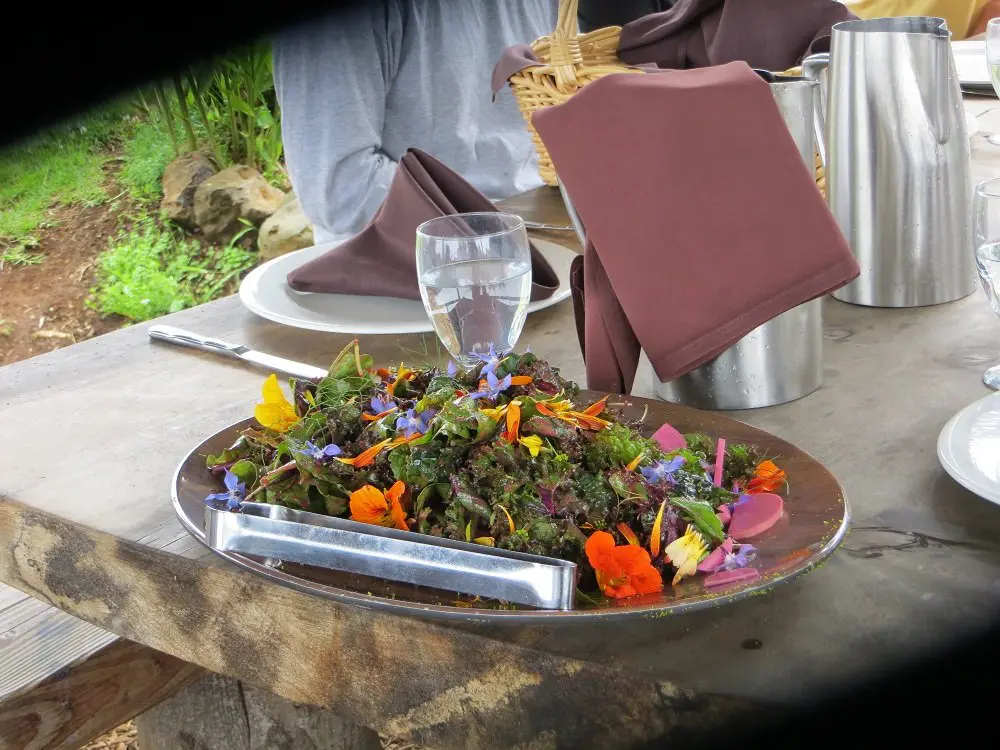
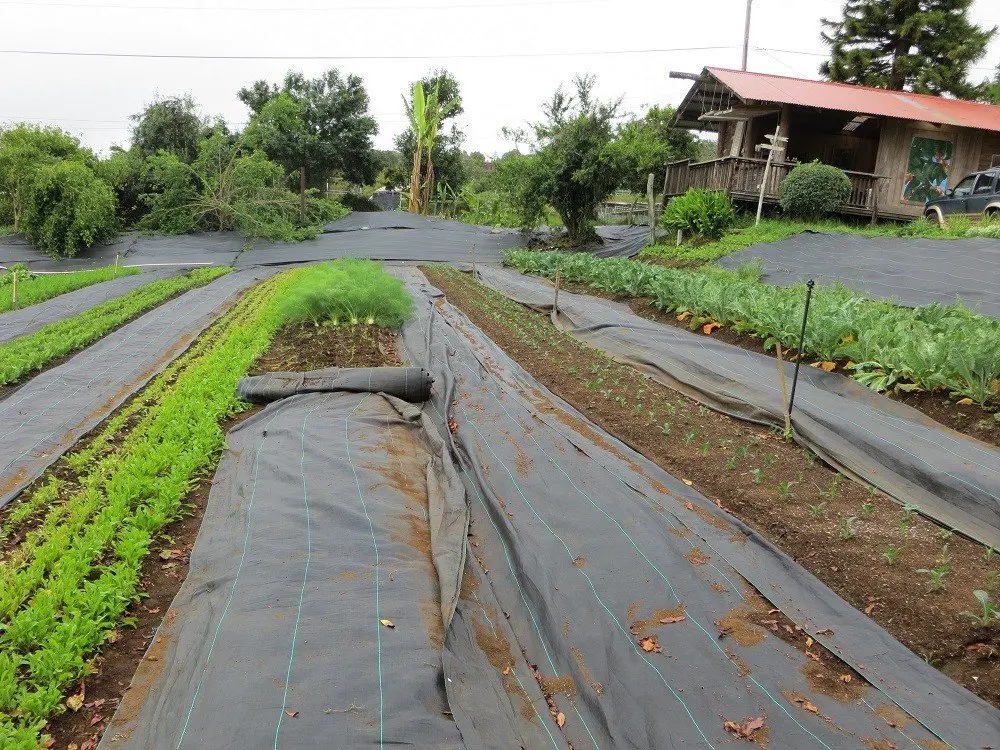
So when I learned about Ali'i Kula up the road from where we were doing an organic farm tour, I knew we had to go!
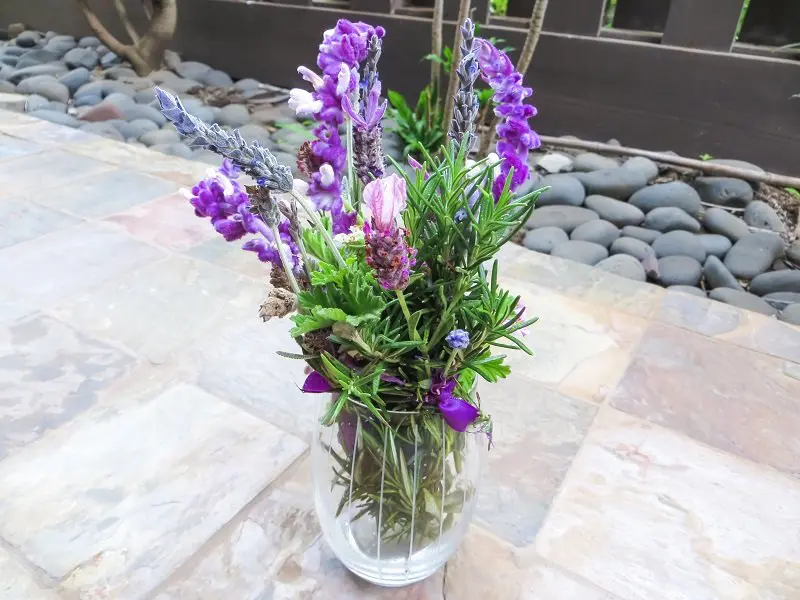
The land is expansive and gorgeous! Besides lavender, they grow other beautiful flowering plants that make the scene feel magical.
You're so high up in the mountains that if it's a cloudy day, you're in the middle of the clouds, which was the case when we visited. Unfortunately, it was rainy the day of our tour, but it was still worth it!
They have a gift shop + a cafe with, of course, lavender inspired products! We tried lavender tea and lavender pastries and they were delish! They even allow you to reserve a gazebo for gatherings or private tea parties, which I might have to go back for one day!
Beyond tours, Ali'i Kula also offers wedding packages, so if your dream is to get married in a fairytale-like setting, this lavender farm would do it!
Types of Lavender
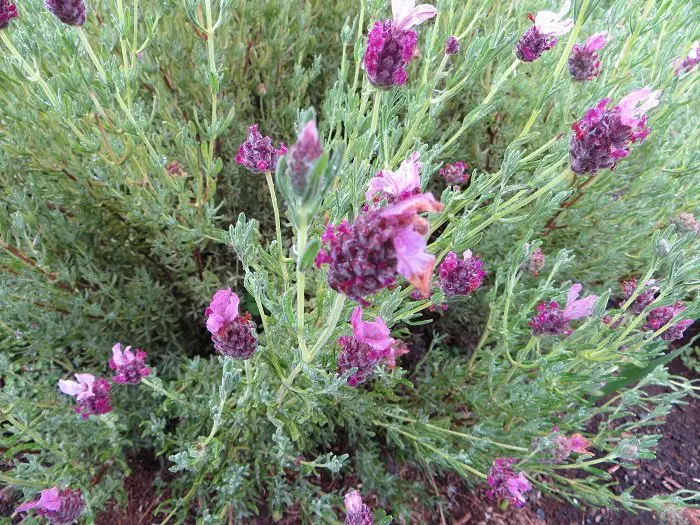
Our tour guide shared there are three main types of lavender: English, Spanish and French. Who knew?!
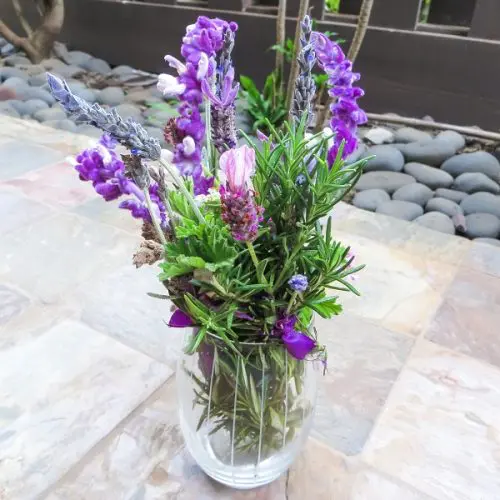
The three plants even had distinct looks, so you could easily tell them apart. Red Spanish Lavender is shown below. It has big flower crowns that give it such a unique look with two little petals sticking out the top. It doesn't have as many leaves as the other two varieties. We learned you pinch the flower bud to release the oil instead of rubbing the leaves.
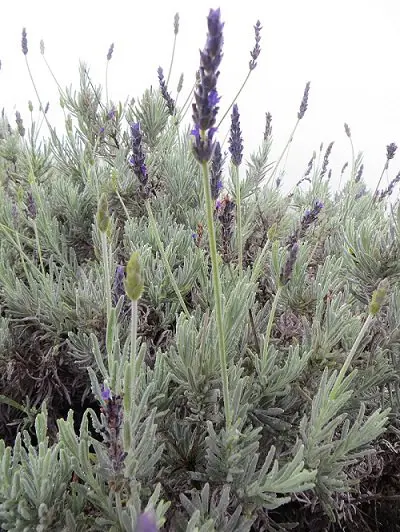
French lavender is the picture below. Unfortunately, I don't have a great image of the lavender buds. The leaves are a more gray green color and serrated. You can rub the leaves to release the oils. The blooms are purple buds that appear at the top of the plant. French lavender is often dried and used as decoration. The scent is softer compared to English lavender, and some think it resembles rosemary.

English lavender! This is what most people, including myself, think of in terms of lavender. It's best known for it's aromatic properties and often used in household products, essential oils and in culinary. It has the strongest lavender scent and it's beauuutiful!
I've tried growing lavender from seed so many times and rarely have luck! Have you ever tried growing it? I might have to grow an already established plant and try that instead of seeds this summer! The plant momma in me is dying to add a lavender plant baby to the family!


 Visit A City
 Skyscanner
 Hostelworld
 FlixBus
 Omio
Omio TripAdvisor
 Google Translate
 WhatsApp
 Uber
Uber