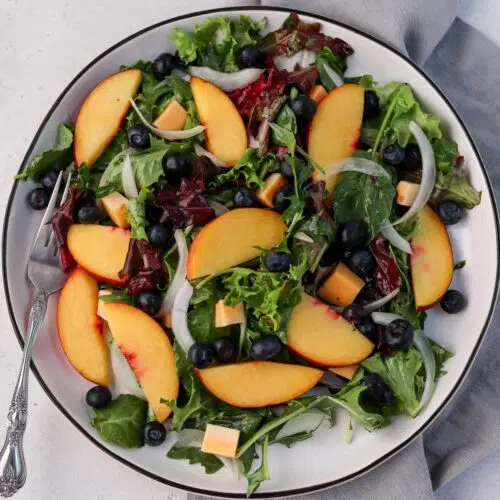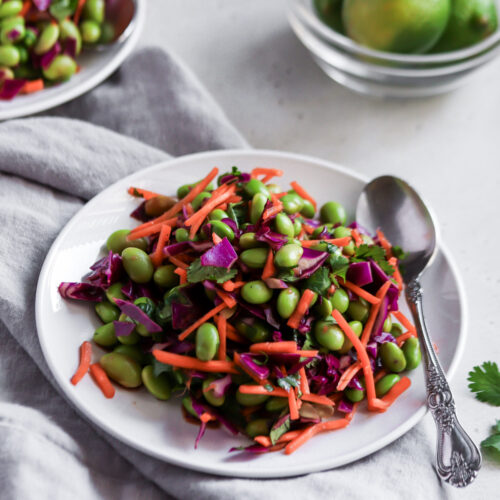
This Edamame Salad offers 9g of protein and 5g of fiber per serving and is so flavorful. Use as a salad topper or enjoy as a side dish!
If you love easy bean recipes, check out my Mediterranean Bean Salad and Mediterranean Chickpea Salad for more high fiber recipe ideas.
Recipe Quick Look: Edamame Salad
- Ready in: 20 minutes
- Great for: salads, side dishes, appetizers, picnics, BBQs
- Main Ingredients: edamame, red cabbage, carrots
- Serves: generous servings for 4 people
- Difficulty: very simple!
- Bonus: meal prep and make it ahead of time
Have a question? Ask AI!
AI can summarize, translate or analyze the recipe for you
Why I Love This Recipe
Bean salads are a quick and easy way to boost the nutritional content of salads - plus they add a ton of flavor!
- Nutrition - this recipe is nutrient-dense, providing 9g of protein and 5g of fiber for each serving.
- Flavor - the fresh, zesty combo of ginger, cilantro and toasted sesame with lime is so refreshing!
- Time - it takes very little time to throw everything together. Buy pre-chopped cabbage and shredded carrots to save additional time!
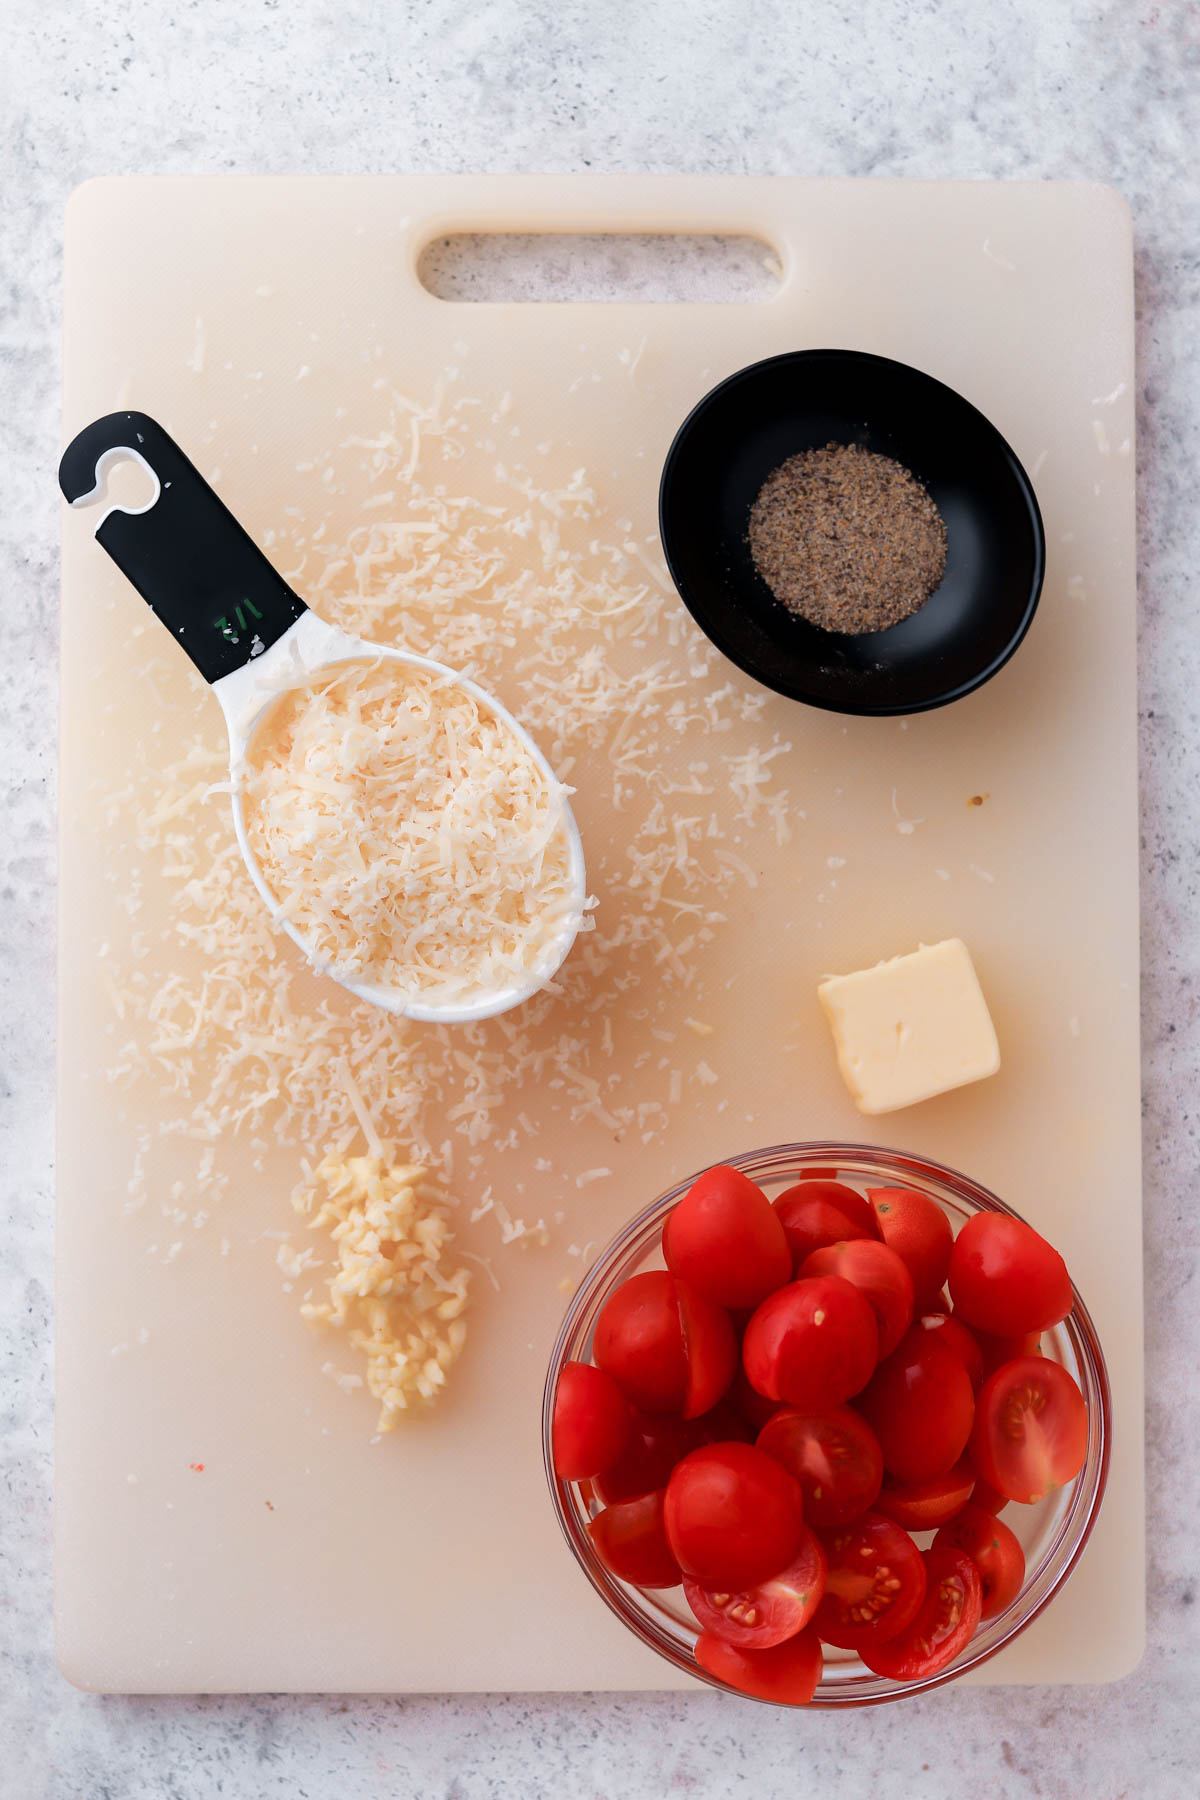
Ingredients
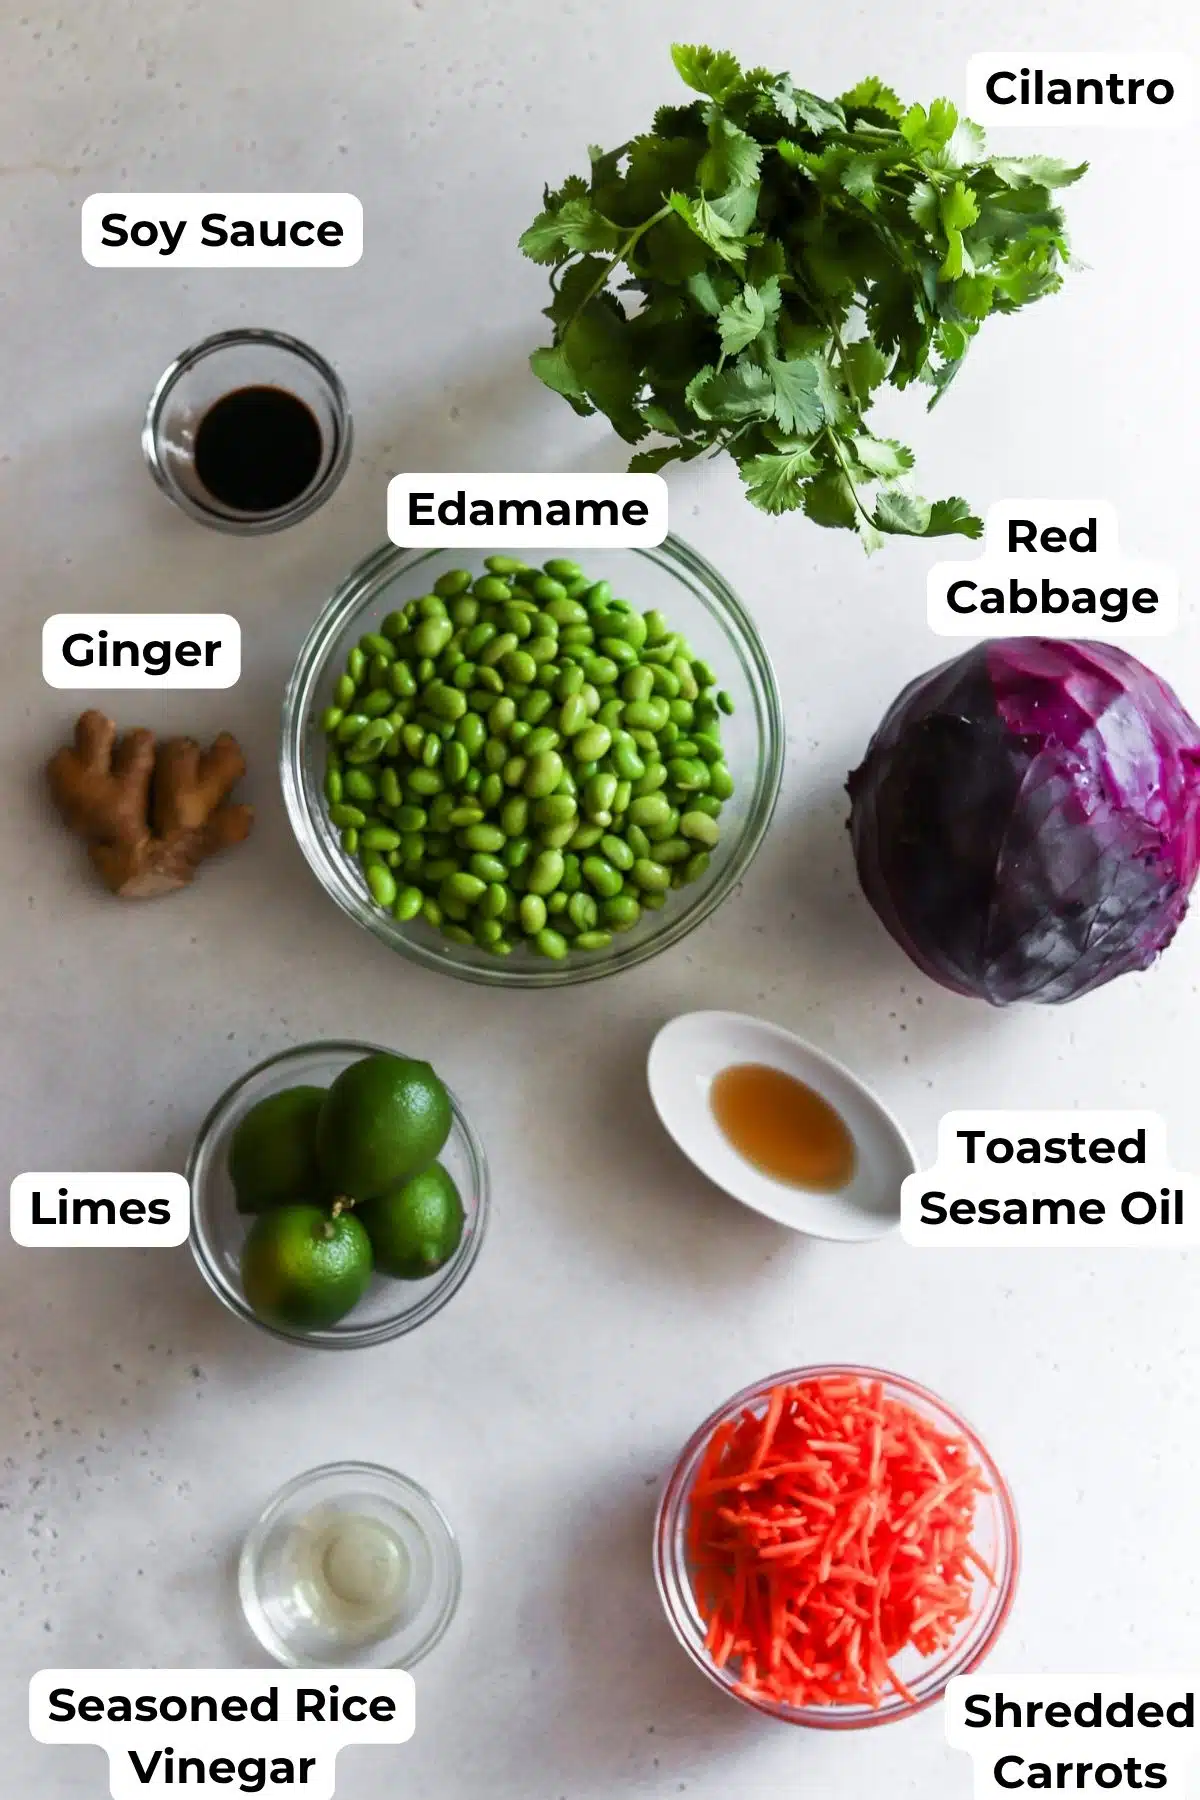
- Toasted Sesame Oil: While you can use regular sesame oil, toasted sesame oil adds a nuttiness that complements the other flavors well.
- Ginger: I trialed this recipe with both ground ginger and fresh ginger. You can't beat using freshly grated ginger. I wouldn't recommend substituting for the dried version. You'll lose the punch of ginger flavor.
- Cilantro: I experimented with mint and parsley and found cilantro complemented the flavors the best, but you could try out different herbs and see which you prefer!
See recipe card for quantities.
Twists and Variation
Bean salads are easy to change up, so you never get bored of the same recipe:
- Spicy - add chili pepper oil or jalapeno
- Crunchy - add peanuts or serve with tortilla chips
How to Make Edamame Salad
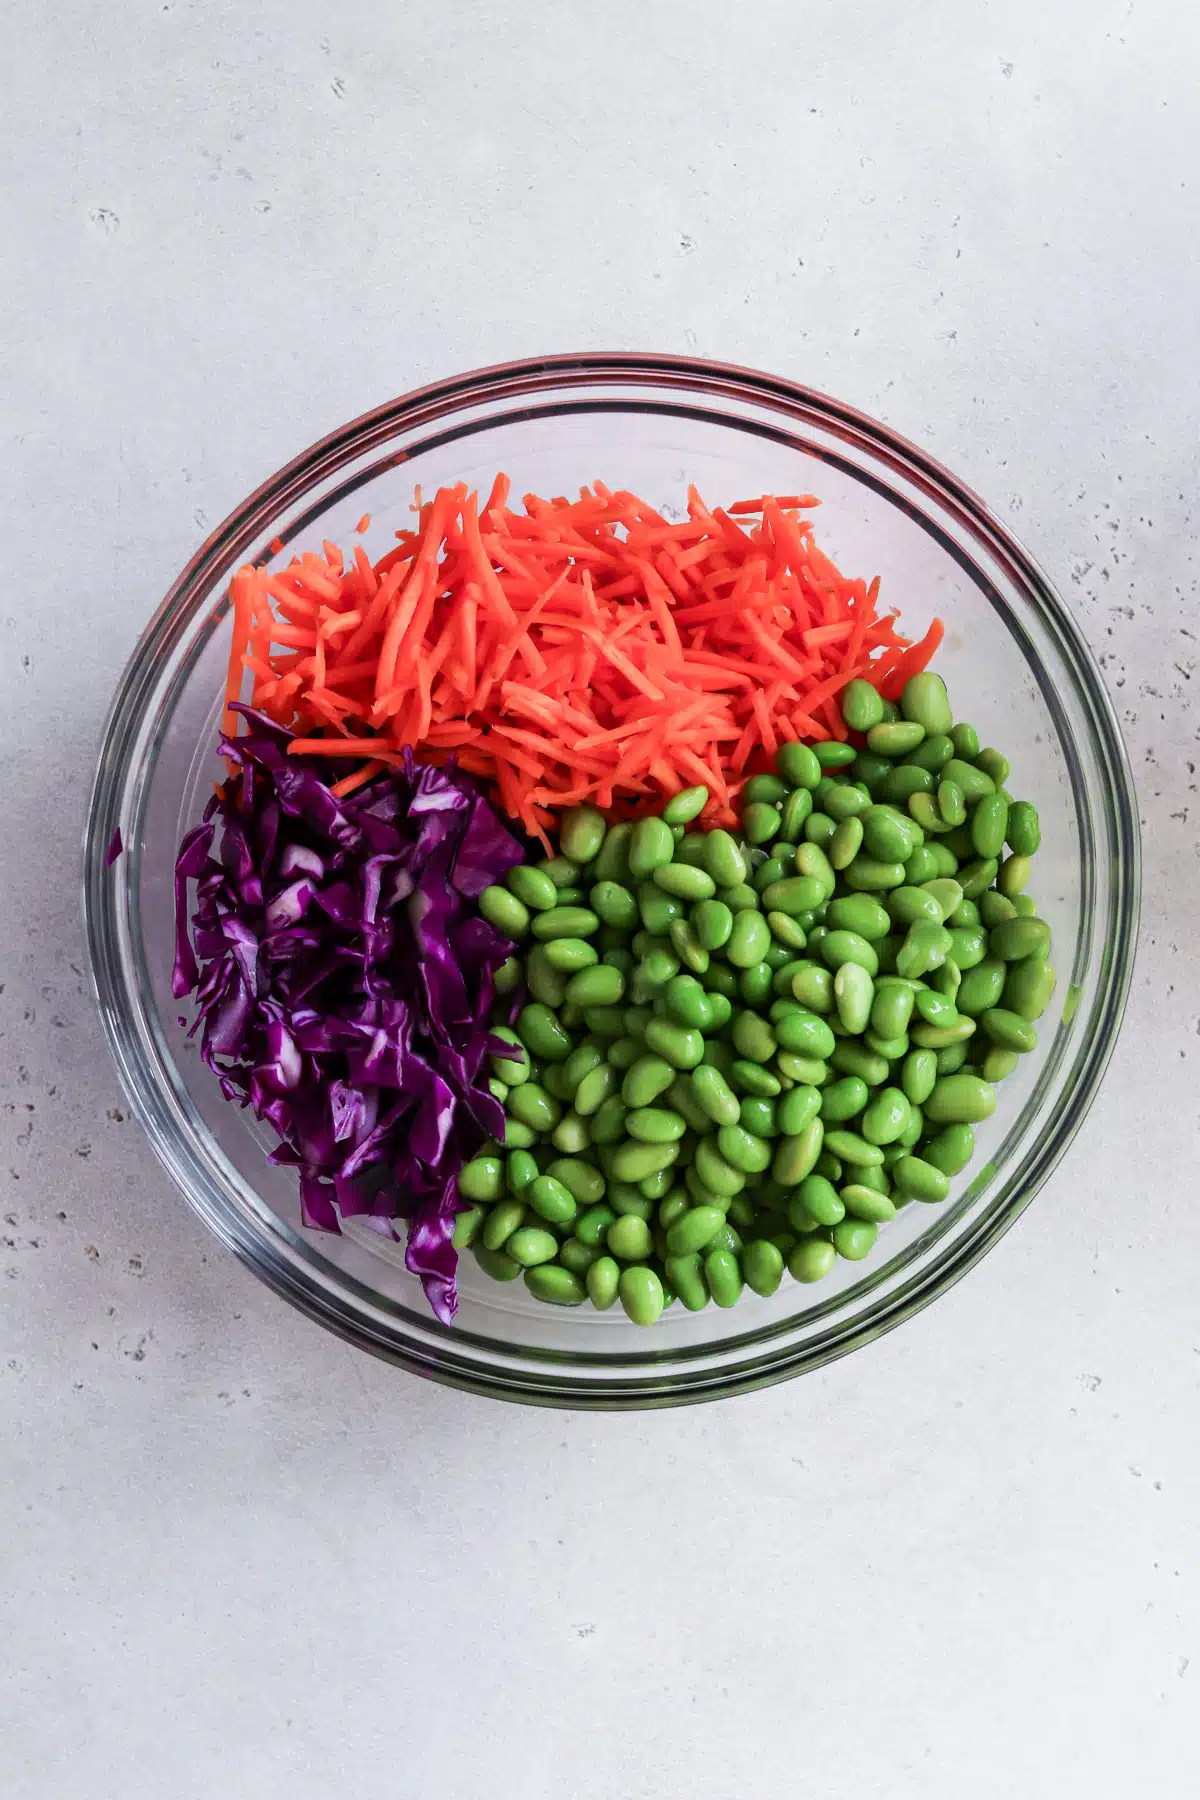
- Step 1: Combine the 3 main ingredients - edamame, red cabbage and carrots - in a bowl.
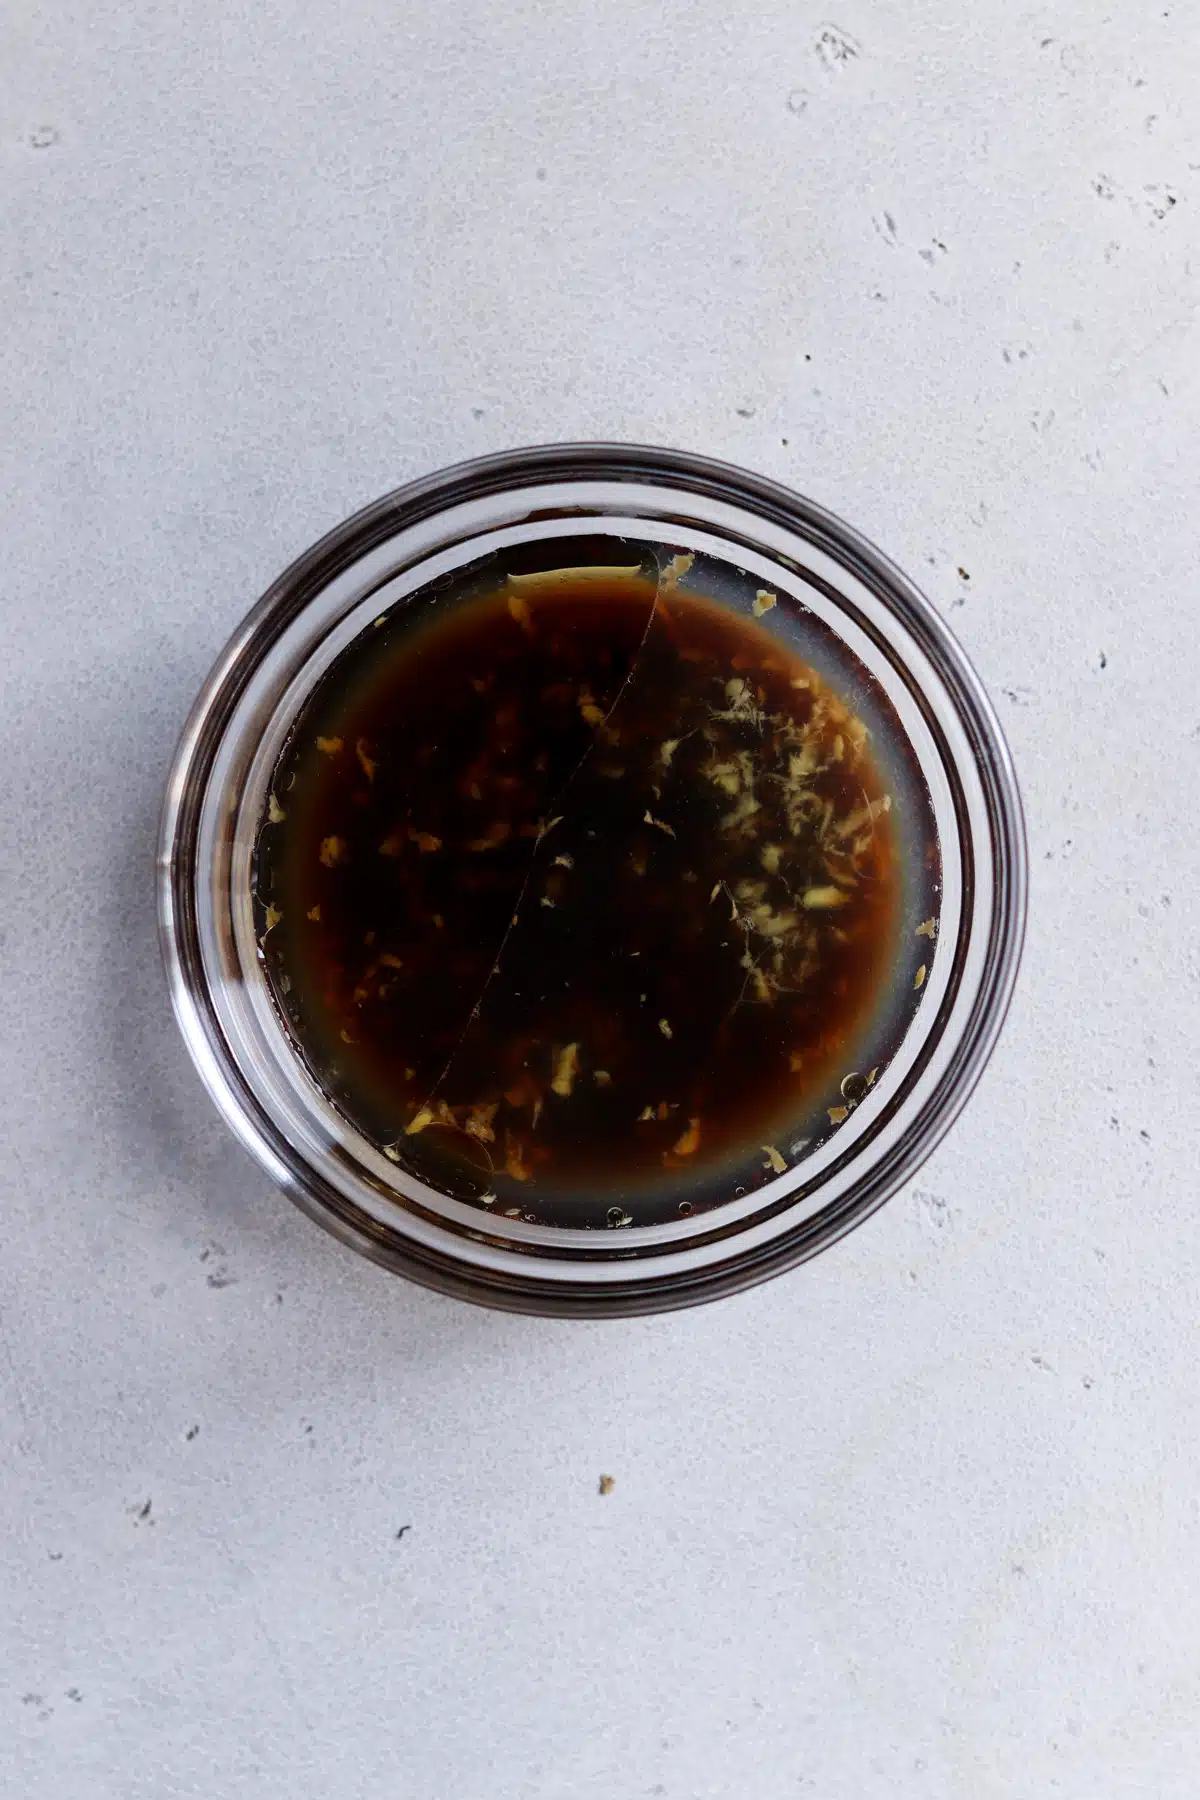
- Step 2: Whisk together the dressing ingredients in a small bowl.
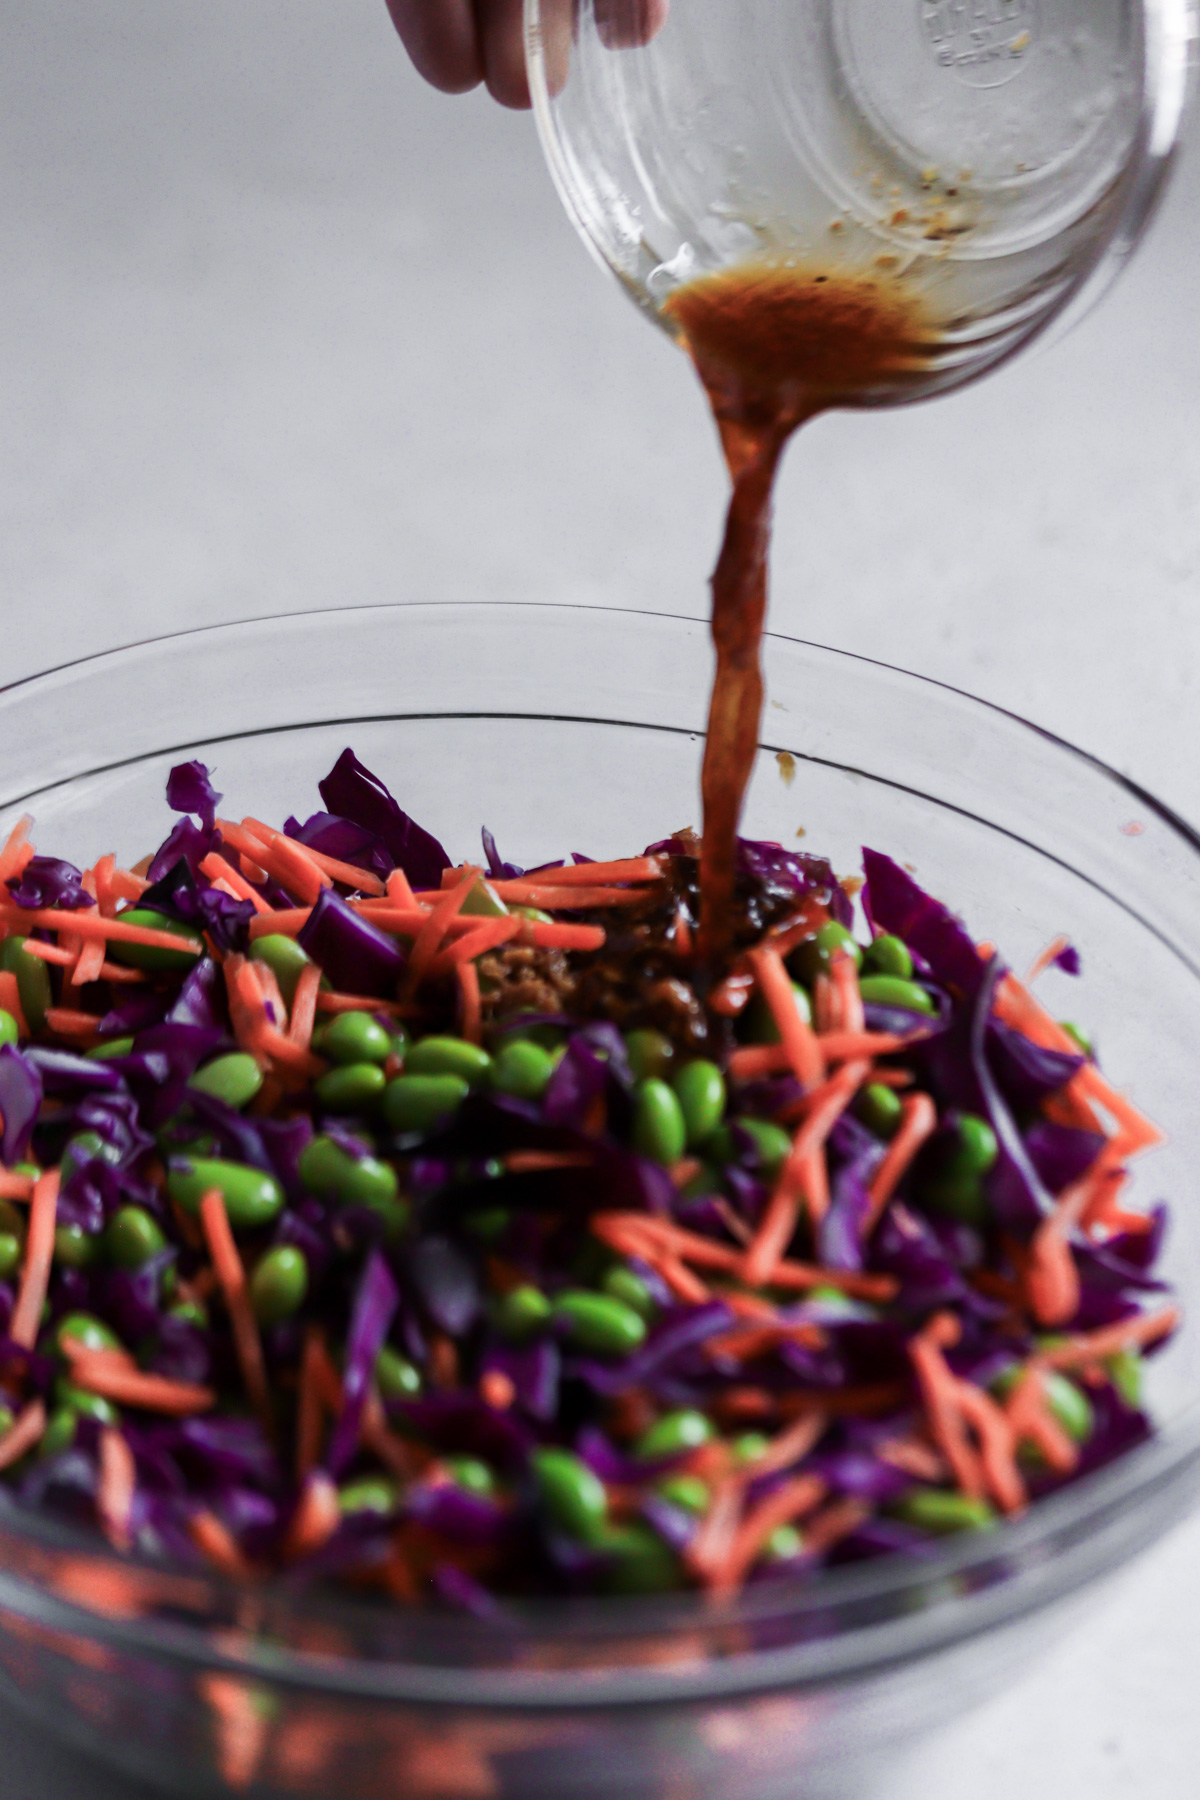
- Step 3: Add the dressing to the bowl of edamame, red cabbage and carrots and mix well.
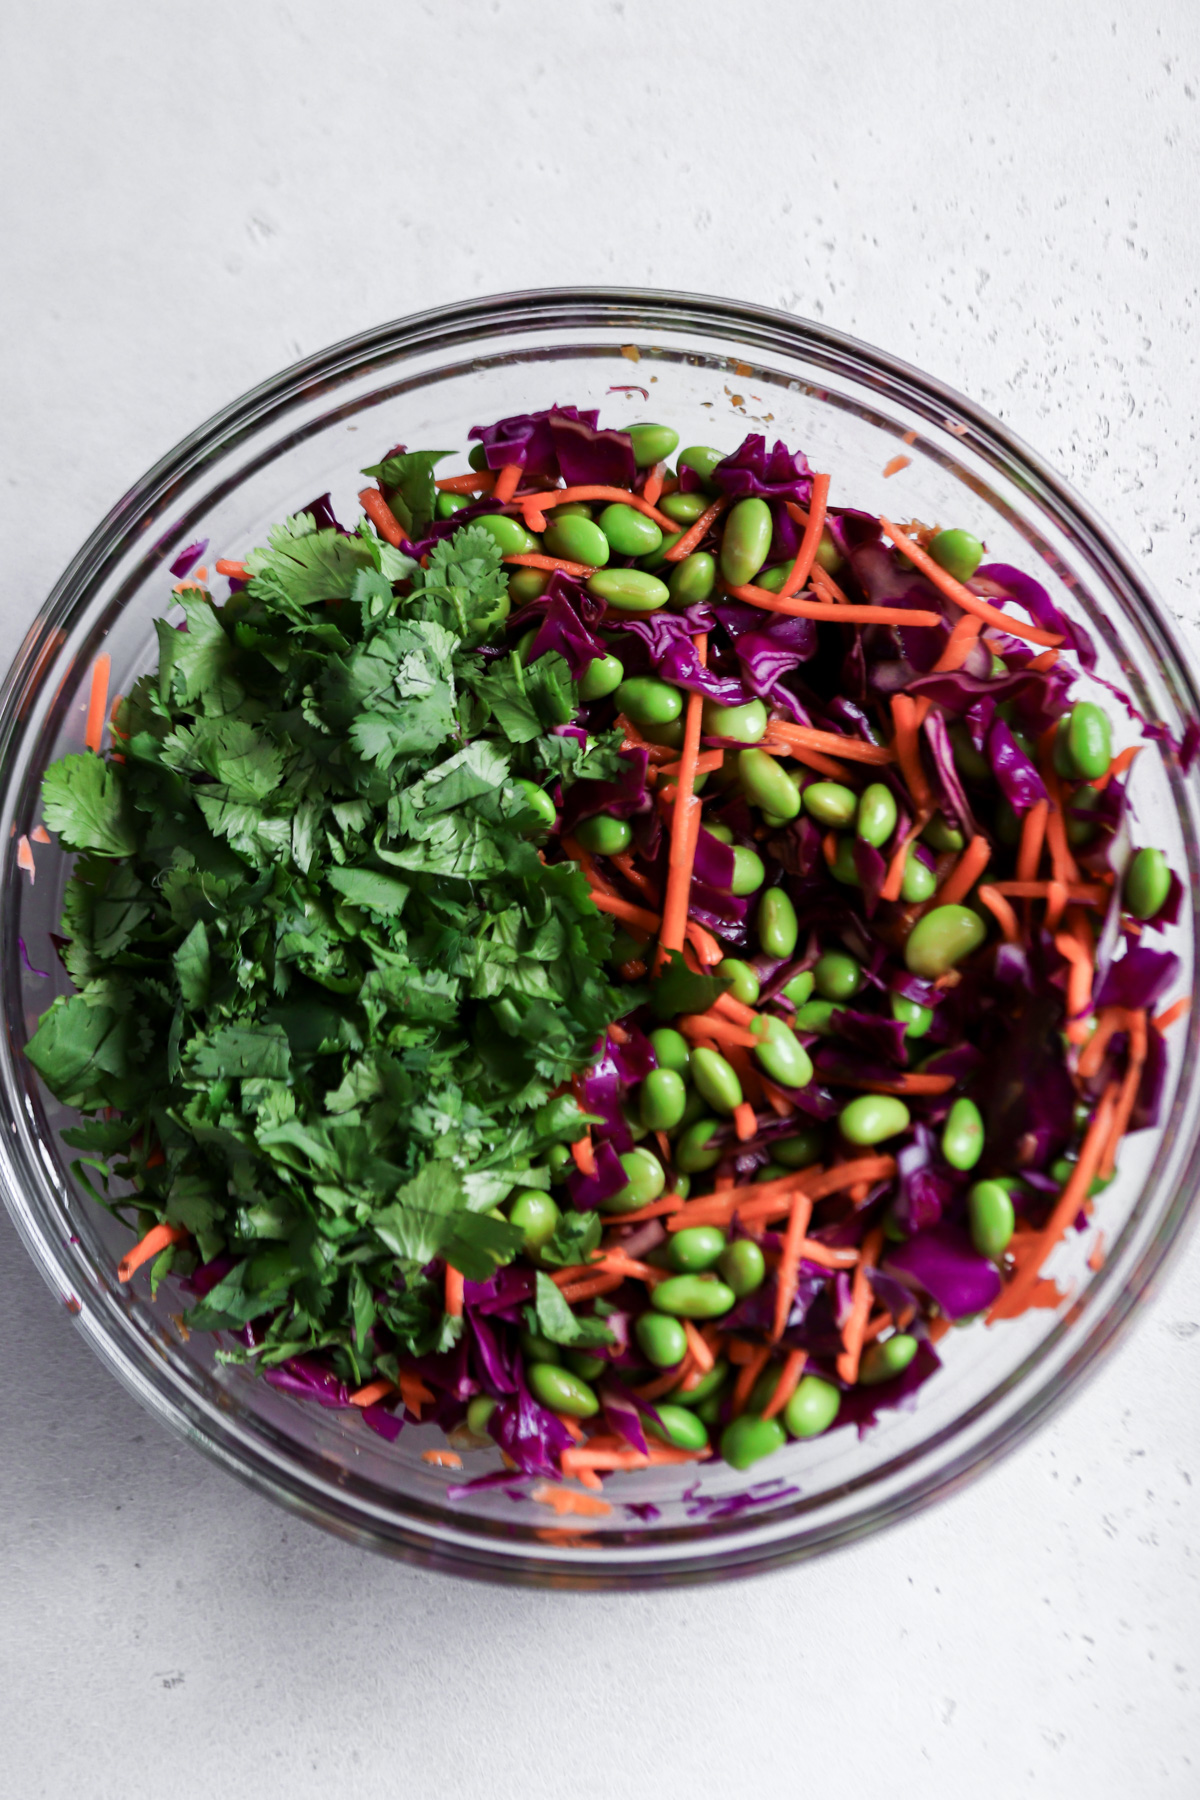
- Step 4: Sprinkle in the chopped cilantro and mix together.
Hint: Let the salad marinate in the fridge for an hour or so to allow the flavors to blend together before serving.
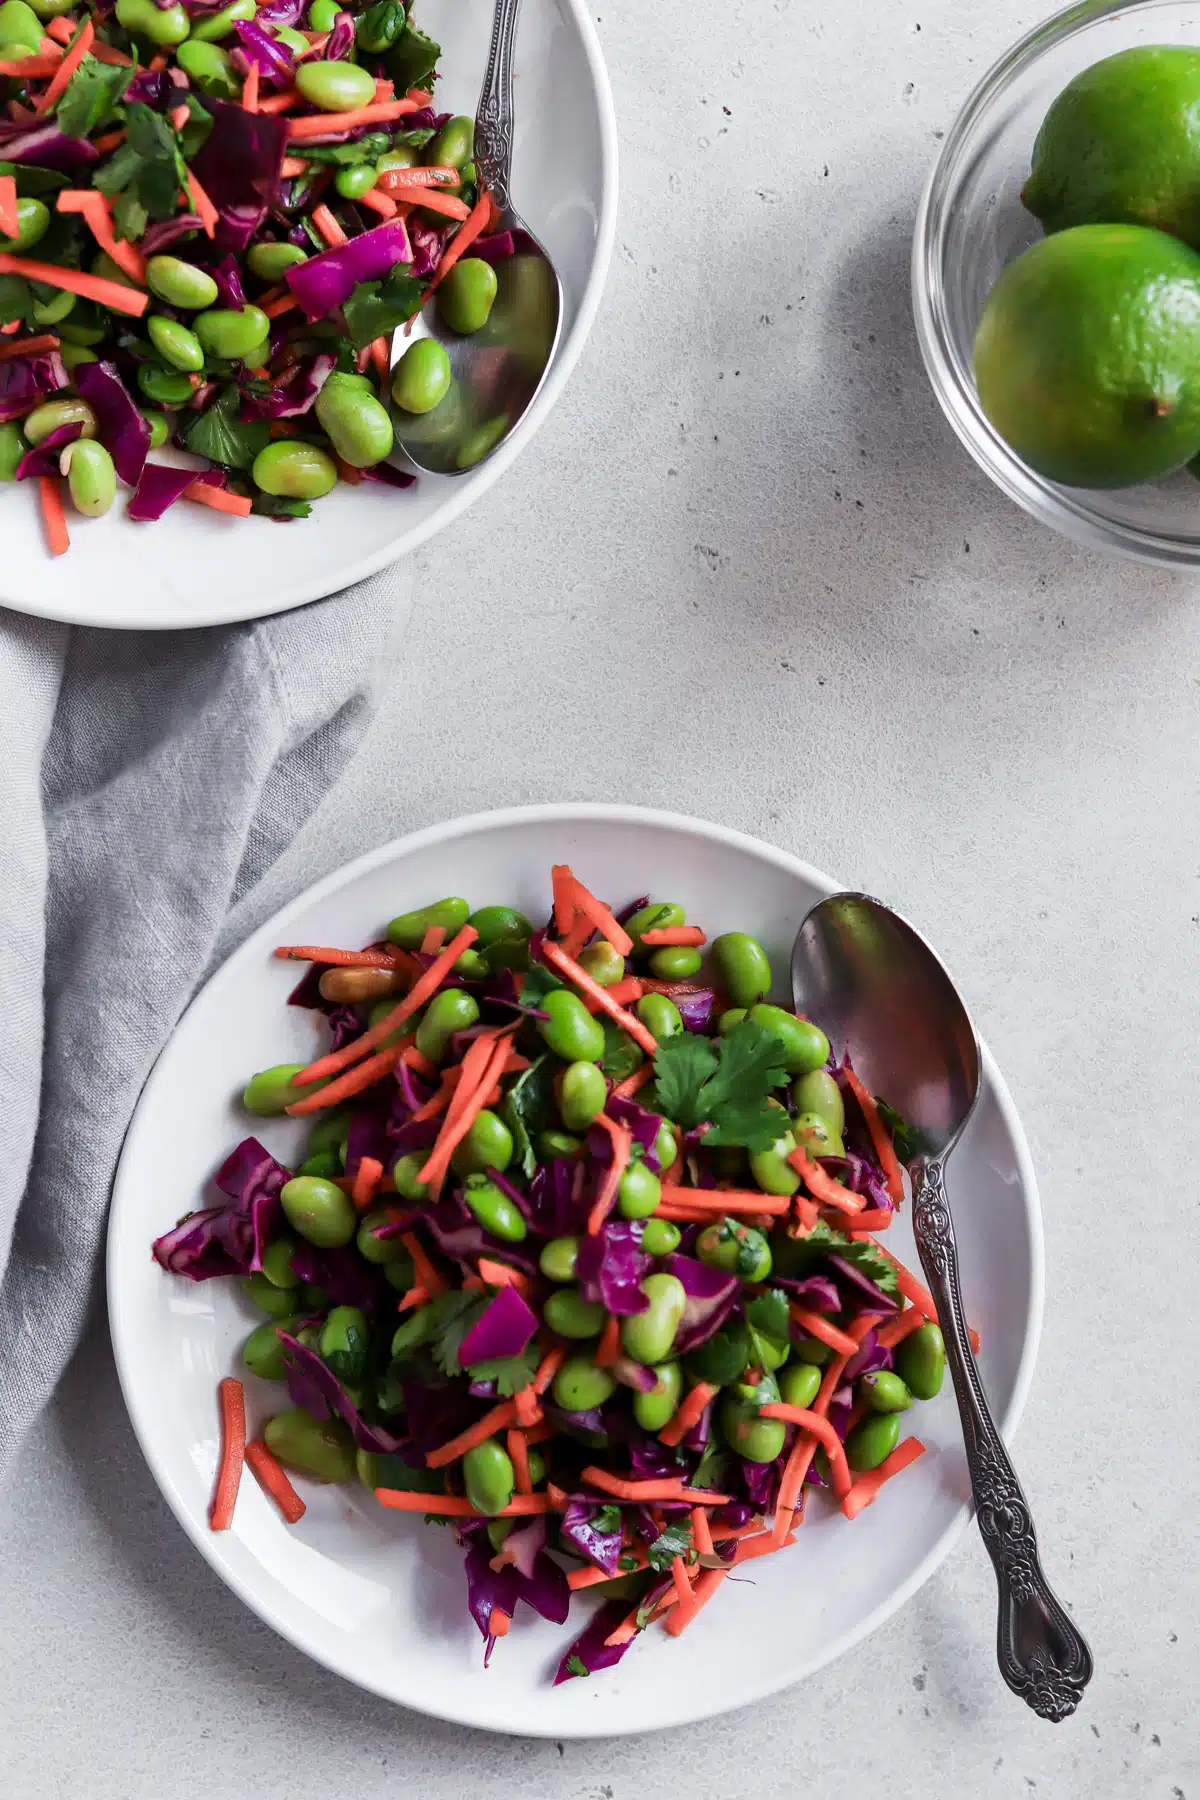
Serving Ideas
Serve this Asian-inspired bean salad with lettuce tacos, BBQ chicken or a cold noodle salad.
Storage
This edamame salad will store well for up to 5 days. The soy based dressing can dampen the bright color of the cabbage and carrots. If serving to guests, I would prep it the day of, if you want to maintain the bright colors.
Edamame Salad FAQs
While you can, it will take a lot more time to de-shell them. You will have to remove them from their pod. I would try to avoid unshelled edamame.
Soy sauce has gluten, so the dressing is not gluten-free. However, you can make the recipe gluten-free by using coconut aminos or tamari in place of soy sauce.
You can add more protein by adding chicken. If you would like to keep the recipe vegan, you could add additional protein with quinoa, tofu or farro.
More Side Dishes
If you tried this Edamame Salad or any other recipe on my blog please leave a 🌟 star rating and let me know your thoughts in the comments or share your creation with me on Instagram, Facebook or Pinterest!

Edamame Salad
Ingredients
Salad Ingredients
- 12 ounce shelled edamame
- 2 cups chopped red cabbage
- 1 cup shredded carrots
- ½ cup chopped cilantro
Dressing Ingredients
- 3 tablespoons lime juice
- 1 tablespoon seasoned rice vinegar
- 2 teaspoons low sodium soy sauce
- 2-3 teaspoons freshly grated ginger
- 2 teaspoons maple syrup
- 1 teaspoon toasted sesame oil
Instructions
For the Salad
- Mix the edamame, red cabbage and carrots in a large serving bowl.
For the Dresssing
- Whisk together lime juice, seasoned rice vinegar, soy sauce, freshly grated ginger, maple syrup and toasted sesame oil. Taste for salt.
- Mix dressing into salad, top with the cilantro and enjoy!
Notes
- Shelled edamame is often found in the frozen section of the grocery store. It is usually pre-cooked, so you can let it thaw or microwave it if time didn't allow for thawing. If you are unsure if it cooked, follow the instructions on the bag.
- If you need this recipe to be gluten-free, use tamari or coconut aminos and make sure it has a "certified gluten-free" label on the bottle.
- If time allows, let the salad marinate in the fridge for 1 hour before serving.